A couple of lads from our local club came over to my house last month to play another Market Garden scenario that I put together based on the attack by KG Bruhns and KG Krafft (9th SS Panzer Division) on the tip of the Oosterbeek perimeter after the collapse of 4th Parachute Brigade's position at Wolfheze during the evening of 19 September 1944. The British fell back overnight into a defensive position held by 21st Independent Parachute Company, 7th KOSB and 1st Reconnaisance Squadron. Dave and Simon (SiWi on this forum) took the paras, and myself the Germans.
Each side had 900 points using the lists in BG Overlord and MG, with all the latter's campaign-specific rules applying. Although the British set up first, we simulated the chaotic, swirling nature of this battle by dicing for initiative to decide who went first in each turn. The German objective was to destroy the British as a fighting force by reducing their BR to zero. The British objective was to survive by reducing the German BR to zero or still have un-pinned units on the board when the game finished. British units that retreated from the table were treated as destroyed for the purposes of BR.
As a special scenario rule, we modelled the benefits that the Germans obtained from the RAF's forlorn attempts to re-supply the paras as the perimeter started to shrink. On a roll of 6 at beginning of each of their turns, the British would place a supply counter at a randomly generated point on the table. Some of these were outside the British deployment zone, others within it. Capturing such counters was the only way the British could re-supply their units during the game. If they did so, their BR also increased by 1D3. If the Germans captured one, the British BR would be reduced by 1D3.
In the end, we played 11 cracking turns.
As the German player, I stuck closely to the historical orbat for these KGs using information from Kampfraum Arnhem, Market Garden Then and Now and It Never Snows in September. The board lay-out was modelled very closely on two excellent maps in KA and T&N respectively. The British won initiative and were able to put a large number of their units on ambush fire.
The Germans started cautiously by pushing an infantry platoon forward under the cover of a hedgerow. One of the surprising revelations of my research was the amount of high hedges, foliage and woodland in the area. The road in this picture went leftwards towards the famous railway crossing where jeeps of the 1st Reconnaissance Squadron had been ambushed previously.

The British deployed cleverly, with an outer crust based in these ruined buildings on the outskirts of Oosterbeek.


Two 6 pounder ATGs were deployed in positions with arcs of fire covering the more obvious German avenues of advance.

Sources suggest that the 9th SS Panzer Division had a couple of Jagdpz IV L48 SPGs. I haven't painted the ones that I have made yet so I fielded Stug IVs instead as the closest proxy for historical veracity. These were pushed forward carefully to avoid the ATGs.

The British enjoyed good luck with the first supply drop, which fell within their lines and was easily picked up, boosting their BR.

Panzer Grenadiers advanced behind the cover of the Stug IVs.

Their comrades continued to inch forward along the hedgerow.

To their left, other Grenadiers infiltrated a building that promised to be a good position of cover for the rest of the advance.

Instead, and for the rest of the game, it became a magnet for well-placed British fire, causing multiple casualties. The Germans had a dilemma - if they vacated the building, it would leave their left flank open. If they stayed there, they died.

Another supply drop landed within the British deployment zone, boosting their BR further. Things had got off to a slow start for the Germans!

Fortunes gradually turned and the build up of German forces persuaded the British to abandon the first line of buildings and retreat into the nearby woods. The Germans had placed a PRT in the centre of these houses and the paras saw little point hanging around.

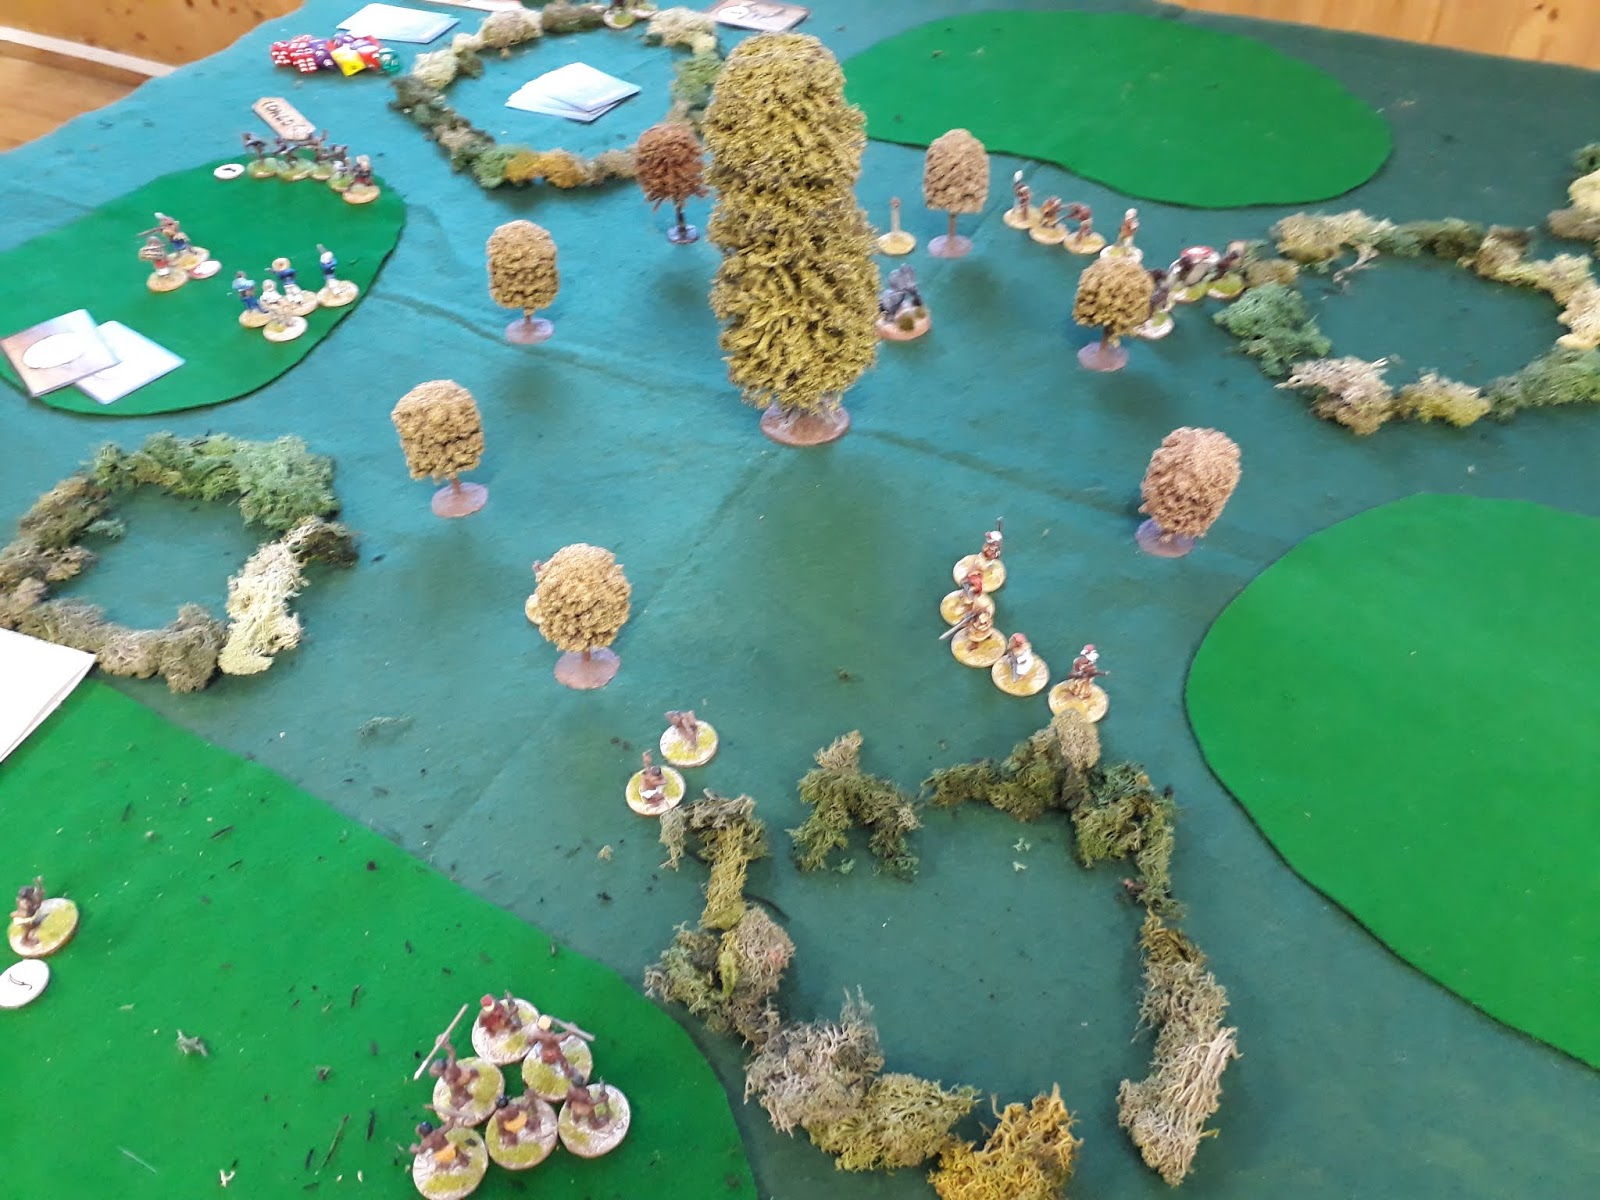
An overhead shot shows the state of play after the first few turns.

As a reward for eliminating one squad of paras, the Germans saw the British draw a breakdown chit which was immediately placed on one of the Stug IVs. Luckily, the Germans had had the foresight to bring a repair vehicle with them.

Another Stug IV entered the fray.

The paras continued to pull back slowly rather than get hoovered up by the more heavily armed (and armoured) German attackers, trading space for casualties.

As the Germans were lured forwards, a salvo of artillery fire landed in the midst of their troops courtesy of XXX Corps on the other side of the Lower Rijn. Sneaky!

Having cleared the first line of buildings, with the paras falling back, the Germans applied their coup de grace in the form of a platoon of armoured Panzer Grenadiers. The first Hanomag barrelled down the road towards Osterbeek and unloaded its passengers, who immediately close assaulted and eliminated a nearby house containing some troublesome paras. It then transpired that it was sitting on a British PRT, which soon attracted more artillery fire. Miraculously, the Hanomag survived the first salvo.

On the German right, Grenadiers supported by armour had managed to get round the British flank.

The British had pulled back to form a hedgehog position around the central road.


The Grenadiers pressed on with the support of a 250/9 and started to roll up the British defences.

Two more Hanomags entered the board and launched a frontal assault on the British positions around the crucial cross roads, which was a key objective for both sides.

The battle swung back and forth as both sides saw both good and bad luck. One Stug, having been repaired after a breakdown, then struck a mine and was knocked out. A second received another breakdown counter and was left immobilised. The German Forward HQ (a somewhat anachronistic Panzer IIIK) saw fit to move up and direct the attack.

This German MMG team was able to get round the British flank completely and threaten the British rear positions.

Their comrades continued to pour forward.

The climax of the game saw Grenadiers close assault and capture the cross roads.

The British were clever in pulling back to deeper prepared positions rather than risk their more lightly-armed units being wiped out in an uneven battle. As a Hanomag pushed forward to force the issue, one of their 6 pounders opened fire...

...and knocked it out.

This was a fitting end to a most enjoyable game played in great spirit. We had previously questioned whether Arnhem is truly a good situation for gaming. Previous scenarios had seen the British get absolutely walloped in a serious mismatch. Our game was nicely balanced and went to the wire. We called it a draw: the British were closer to their breaking point (33/54 compared to 24/56) but the Germans had not achieved the scenario victory conditions. The British were not destroyed and had retained their tactical cohestion. The trick seems to be to build in a narrative around the battle with difficult objectives for the Germans, and plenty of cover for the British.
Our next game will involve the British attempts to break into Arnhem in the early hours following the first landings, so the roles will be reversed.